You Can Do It: Pinhole Photography
Ditch your digital camera this week and try this analog photo technique


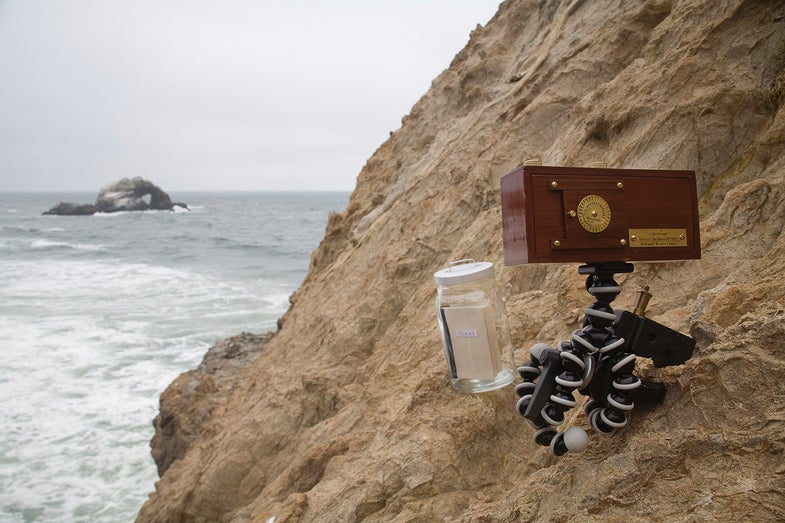
To add an authentic antique patina to your photos, nothing beats a pinhole camera. Seán Duggan, a photographer, writer, and teacher from Grass Valley, California, specializes in this classic technique, which uses “light-tight boxes with pinholes through which light passes to expose sensitized film or enlarging paper within the box.”
They’re inexpensive to buy, and you can make your own for next to nothing using any light-tight container that you can puncture. You can also use a pinhole body cap mounted in place of a lens on a digital or film camera body. Or remove the lens from an older film camera and replace it with a square of aluminum about the thickness of a pie tin into which you’ve pricked a pinhole aperture.
Despite the antique technique, what feels new about Duggan’s Artifacts of an Uncertain Origin series, including the photo shown here, is how he drops evocative props into his scenes to suggest narratives.
Step 1: Buy or make a pinhole camera. The cleaner your pinhole, the sharper your pictures will be. To purchase a camera or pinhole “lens” for a digital camera, start with pinholeresource.com.
Step 2: Scout locations. Since pinhole apertures are tiny, they net great depth of field. (The aperture in Duggan’s ZeroImage camera is f/250!) Pick landscapes with compelling fore-, middle- and backgrounds. Remember that such small apertures mean very long exposures—anything moving will blur.

Step 3: Determine exposure. Before you begin shooting in earnest, Duggan says, “especially for homemade cameras, test to find good starting exposures for full sun, overcast skies, and interior scenes.” His “shutter speeds” typically range from a few seconds to 8 minutes. For store-bought cameras with known apertures, you can often interpolate a starting exposure by metering.
Step 4: Shoot your images. Simply remove the pinhole blind and allow light to strike the film or sensor. Bracket exposures by varying the amount of time the pinhole allows light into the camera. Duggan also moves his camera slightly between brackets to give him a variety of compositions from which to choose.
Final Step: Process the images. This will differ depending on the light-sensitive material or sensor you’re using. Duggan exposes his landscapes on Kodak Tri-X film in the 120 format. “I develop the negatives, review the shots, and choose ones to work on. Then I make low-resolution scans of my selects to further refine my choice. For my final shots, I make a high-res scan big enough for 30×40-inch prints and then apply image improvements in Adobe Photoshop,” he explains.

Zeroimage Pinhole Camera

Kodak Tri-x 120 Film

Joby Gorilla Pod