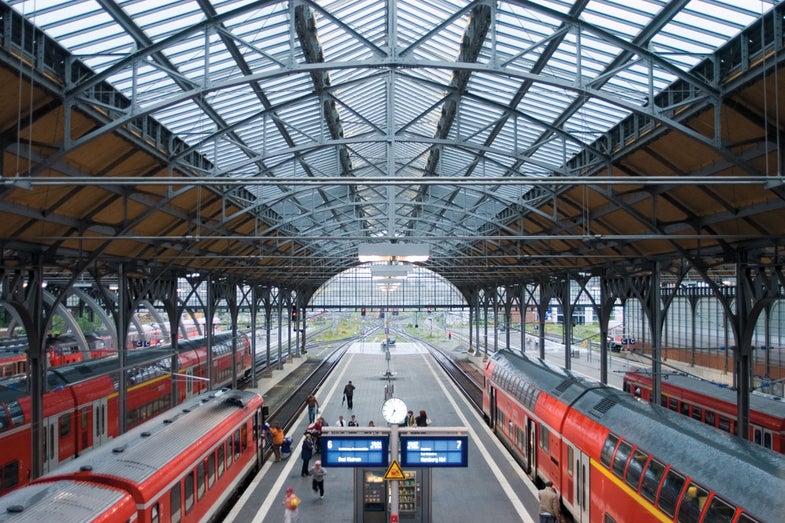
How To: Create a Faux Tilt-Shift Effect
Creating a miniature-looking image in photoshop is easier than you think.
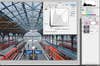
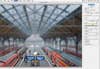
Start by going to Layer > Duplicate Layer to make a copy of your background. Then go to Layer > New Adjustment Layer and choose Curves. Choose your contrast from the pulldown menu or, in CS2 and earlier versions, make your own adjustment. Change your Curves Adjustment Layer’s blend mode to Luminosity so it affects only the brightness, not the color. David Todd
Toy sets are usually painted in bright colors, so make yours pop by adding some saturation. Go to Layer > New Adjustment Layer > Hue/Saturation and add about 30 points of saturation for a super-colorful look. David Todd
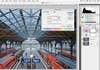
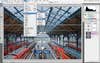
Now it’s time to pick the area to keep in focus. Select your Background Copy Layer, and type B on your keyboard to get the Brush tool. The most challenging part of making fake tilt/shifts is figuring out how much to blur and where. Since you’ll be painting on your picture to indicate which area you want to keep in focus, pick your brush size accordingly. In this case, a brush 550 pixels wide did the trick. Then set your brush’s hardness to 0. David Todd
Before you draw in the selection you’ll use for your blur, hit Q on your keyboard to enter Quick Mask mode. Then set your foreground color to black, hold down the Shift key, and paint a straight line over the area you want to remain in focus. Tip: The effect often looks more realistic when it doesn’t go all the way to the edges. When you like your line, type Q again to exit Quick Mask mode and see your selection. David Todd
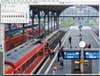
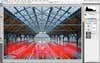
Now it’s time to blur the image. Go to Filter > Blur > Lens Blur. David Todd
Once you’re in the filter dialogue, make sure that Source: None is selected under Depth Map. Mess around with the rest of the sliders as you see fit, but the key tool here is Radius. It determines just how much blur to add. Move it to the right until your scene looks like a miniature world. Then click OK to see your finished image, complete with the effect of your Adjustment Layers. David Todd