Building a DIY digital camera sensor is as tricky and tedious as it sounds
A DIY project for an experienced tinkerer.

A camera’s image sensor is one of the most important pieces of tech to capture images. It’s the small element deep inside your camera that converts light waves into electronic signals that actually end up creating our final images. It’s also not something that most photographers would attempt to make themselves. Sean Hodgins of Idle Hands Development loves a good challenge though.

Hodgins recently created a working 1-kilopixel sensor and stuck it inside a 3D printed camera body. Although Hodgins admits that the project was neither cheap nor easy, it is open source and he has posted step-by-step instructions online. So, if you are feeling ambitious in the new year, you can try this at home, although you will need to be able to 3D print parts, solder circuit boards, and program Arduinos to end up with a working camera.

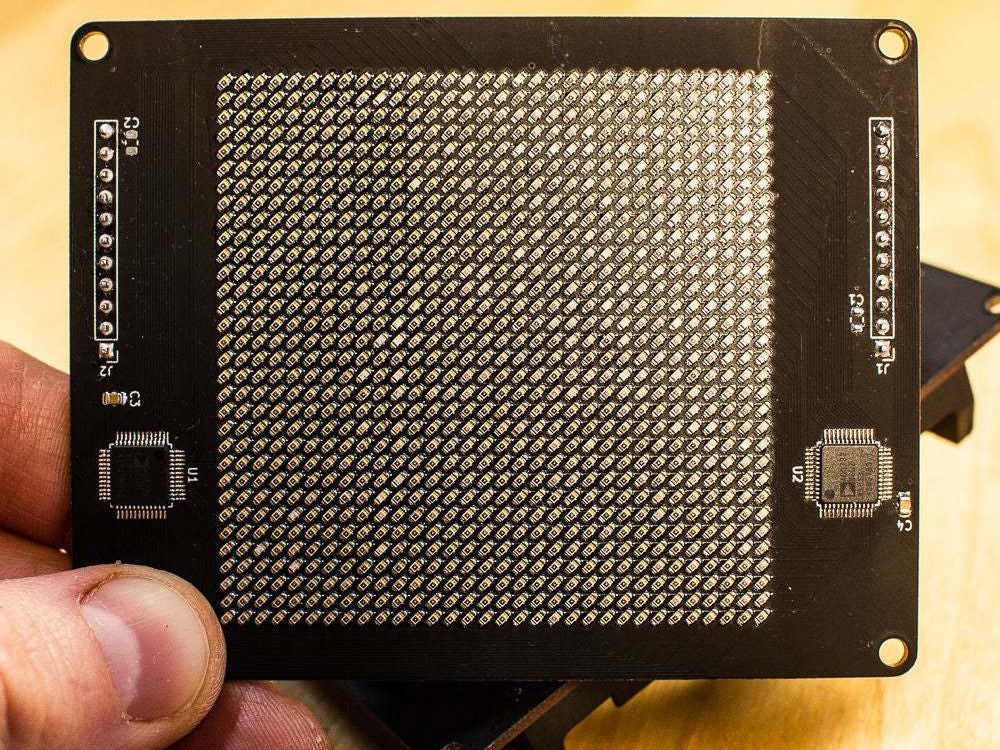
The image sensor circuit board that Hodgins started with has a matrix of 32 x 32 photo cells, and just over 1,000 pixels, which makes it much smaller than anything found inside our phones or a modern day digital camera. He then hand soldered all of the components on the circuit board—a process that took about 2.5 hours. He initially planned to make the camera a pin-hole, but discovered that it didn’t allow enough light to hit the sensor. He took apart an old Canon zoom lens and used the front element instead.

The final images that Hodgin’s DIY image sensor was able to push out are admittedly low-fi, especially when you compare them to the kind of images that our smartphones can pump out. But it is an interesting dive into the way that image sensors actually work. Check out the full video showing how Hodgins built it above.
