How to make your own “anamorfake” lens in a few easy steps
A DIY project for photographers who love a cinematic effect.

We may earn revenue from the products available on this page and participate in affiliate programs. Learn more ›
Bokeh and lens flare are highly sought after qualities for some photographers, and thankfully you don’t need to drop a ton of cash to find a lens that can deliver these cinematic qualities. You can actually make your own.
In a new video tutorial from Shutterstock Tutorials, Todd Blankenship shows you how to DIY an “anamorfake” lens using a few old lenses sourced from eBay. Blankenship says the tutorial was inspired by Tito Ferradans’ YouTube channel, which happens to be a great source of info for learning more about making these lenses at home.

Anamorphic lenses capture an images appears squeezed horizontally so everything looks stretched out from top to bottom. It looks ridiculous straight out of the camera, but once you adjust for the squeeze in post, you get a much wider aspect ratio than the shape of the camera’s sensor. You can buy these lenses and adapt them to a typical camera or, use these instructions to make your own.

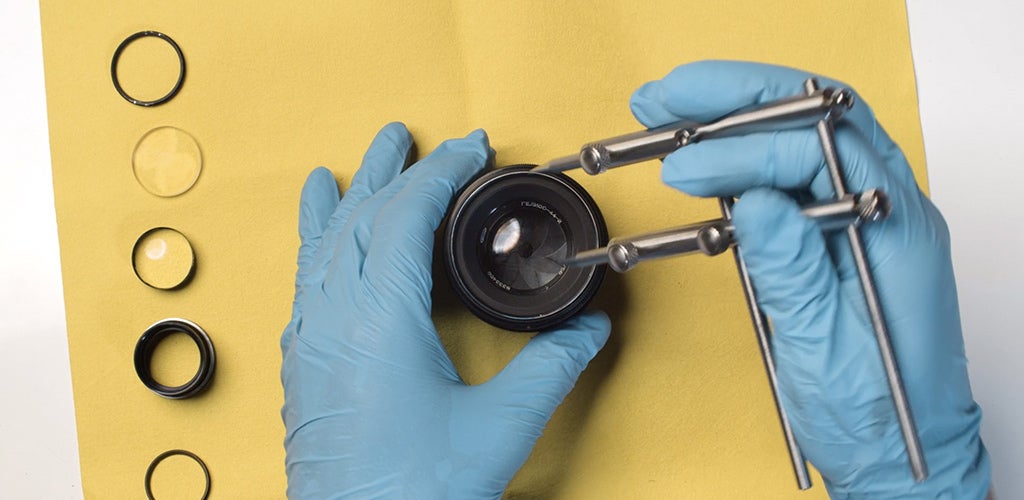
After you’ve sourced the old lenses for transforming, you will need a lens wrench, aperture disks, fishing line, acetone, an orange marker or some paint, gloves, double sided tape, cotton pads, and some metal polish. The lens wrench will allow you to disassemble the old lens, just be careful about keeping the various lens pieces in the correct order for when you go to reassemble.
RELATED: Turn that camera lens mug into a camera lens lamp
Once the lens is in pieces you will use the acetone and sandpaper to strip away the black coating around the various elements. You can use the orange pen around the edges of each element to give the lens a nice amber glowing effect. You will add tiny pieces of fishing line over the aperture disk to give the lens some flare. From there it’s really just a matter of reassembling the lens. Check out the full video above.
