Pro tips for taking flattering food photos in any setting
Veteran cookbook photographer Jim Sullivan shares tips for appetizing food photography.
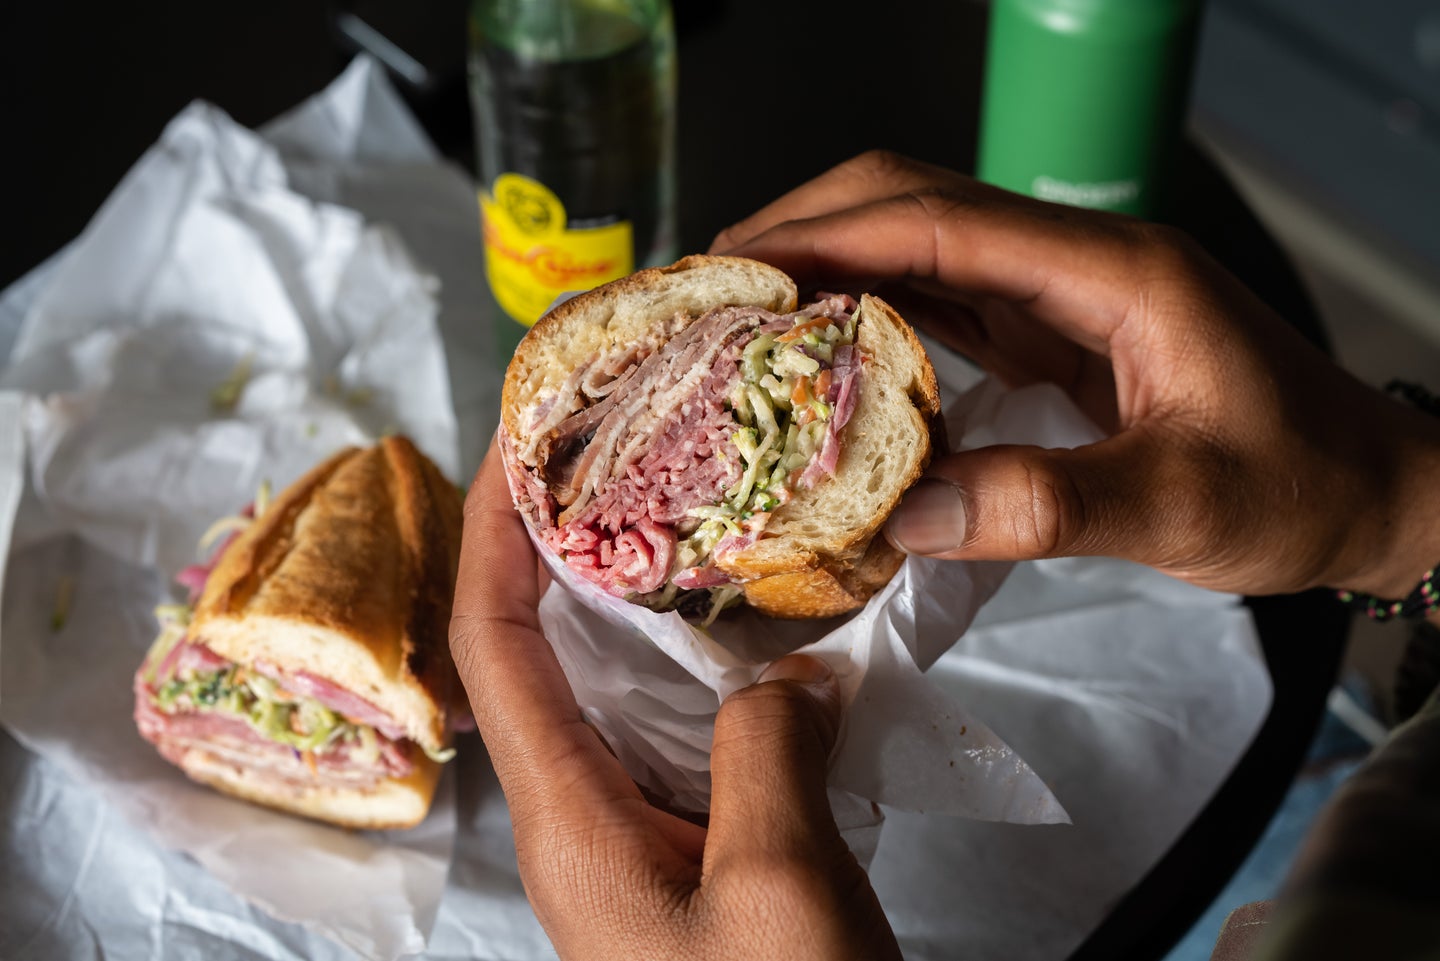
There is no human experience more universal than food, which makes it an ideal photography subject. And while smartphone cameras and social media have made snapping and sharing food photos easier than ever, a little skill still goes a long way. Even the fanciest culinary creations can look like unappetizing piles under the wrong lighting or from a weird angle.
Seeking out tips to take more flattering food photographs, we spoke to veteran cookbook photographer Jim Sullivan about how to take the most flattering food photos in any circumstances and with any gear.
Style the food
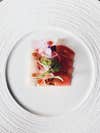
First thing’s first, the position of the food matters a great deal—including how much of them appear in the shot. Sullivan tells us how he would approach photographing sushi differently than he would a sandwich: “If it’s two pieces of nigiri, I want to have some negative space,” he says. “I might have a little bit of the table and plate in there as reference, but the negative space to draw your attention to the nigiri is important.” Try adding more or less negative space as you shoot to find the right balance.
With something like a “sandwich, a steak, or even a donut,” he may take more of a lifestyle approach. “A drink, chips, some hands in the photograph might make sense. You can see the whole spread but your eye goes right to the sandwich.” Practice moving other objects around in the photos to figure out how they can support the main subject rather than distracting from it.
If the plate has crumbs or other crud on it, give it a quick wipe to make everything look clean and planned.
Think about depth, mood, and contrast
Variables like texture, height, and color demand consideration. The height of a sandwich might be better served by a lower angle to make it look towering. In the case of sushi, he advises to “meter for the fish, but you want to make sure you capture the texture of the rice.” Getting in close or adding some directional light from the side can help pull out those small details.
Techniques from other disciplines can help with food. “I approach food just like portraiture. In portraits, you want to focus on and flatter the eyes and pay attention to how shadows fall across someone’s face,” Sullivan says. Including the edge of a plate in front of the food can add depth, while the shadows created by the food provide texture.
Your surfaces are important in framing the photograph
Dressing the set often comes down to personal preference. “For some reason I really hate orange tabletops,” says Sullivan. “They’re not really flattering but a lot of places have them.” When he sees a background or surface that doesn’t work, he advises looking for other surfaces to use. In one instance, he utilized a “crack in the cement on the floor” as a background element of a shot, and has even used fabric chairs. Look around to see what surfaces might be complementary and not distracting to the dish.
If you’re at home, experiment with different plates or serving dishes. Some photographers will even use unique materials like tiles or stones if the subject calls for it.
Find the right light
Simplicity goes a long way with food photography. “The best light is a cloudy day. Soft light,” Sullivan notes. “If it’s a sunny day, you might move the dish near a window” where you can utilize flat, diffused light. “In my experience, food doesn’t photograph well in harsh light.”
He also recommends paying close attention to the shadows. The way a shadow can give shape to food and the direction the light falls is important in creating shapes and drawing your eyes to the right spots in the photo without being distracting. Light from the side will create deeper shadows that accentuate texture. That’s handy for emphasizing the layers of a tart, but not ideal for something like a fondant-covered cake that you want to look as smooth as possible.
For more advanced lighting options, he recommends small, portable lights like the Profoto C1 Plus or something similar. “I shoot a lot of stuff on location, and I always have a little light I carry with me when I travel.” Even a small reflector can come in handy if you want to bounce a little window light back into the shadowy side of your food without flashing in a restaurant.
Your phone and apps can be powerful tools
When shooting with a mobile phone, Sullivan uses VSCO to shoot RAW files, which is especially helpful to adjust white balance. “In restaurants during services, lighting can be really warm in terms of white balance, so you might have to cool it down a bit.” The extended color information contained in a RAW file will give you more flexibility to adjust not only color balance, but also adjust exposure on your images.
If you’re shooting at home, try to narrow down the illumination to a single color temperature. Mixing window light with artificial overhead light, for instance, can make food look unnatural and unappetizing. Kill the overheads or move away from the window to get consistent color that you can correct in post.
Don’t be afraid to move around
“If you’re in the back of a restaurant, you can pick up the dish and go towards the front of the restaurant where there’s a window.” Sullivan points out that restaurants and waitstaff know that people want to get good photographs of their food. While most businesses would be appreciative of quality photos of their items being put out into the world, Sullivan warns “you have to be aware, and don’t be disruptive” to other patrons and staff.
