How to back up your iPhone photos without using iCloud
You don't have to pay extra to back up your priceless photos and videos.

This article was originally featured on Popular Science.
These days there’s just no way around it: you need to back up your videos and images from your iPhone onto another device in case your phone gets lost, stolen, or damaged beyond repair.
The default system on iOS uploads your files to iCloud (or another cloud storage platform), which is incredibly convenient since it automatically syncs your content to your tablet, computer, and the web. But if you don’t have a Wi-Fi connection at hand or just don’t want to pay extra for storage, you can also move your photos and videos over to macOS and Windows manually.
Moving files from an iPhone to a Mac computer is easy, but iOS to Windows transfers are relatively straightforward, too. All you need is a cable to connect your iPhone to your computer—so Lightning to USB-C or USB-A, depending on the ports on your device.
How to manually move images from your iPhone to macOS
As you would expect, moving files between your iPhone and your Mac is simple as Apple products get along perfectly fine. Use a cable to connect the Lightning port on your iPhone to a spare USB port on your Mac, and the two pieces of hardware will recognize each other. On your iPhone, tap Trust and unlock your device (via a passcode or biometrics) to confirm that you’re connecting your phone to a trusted computer.
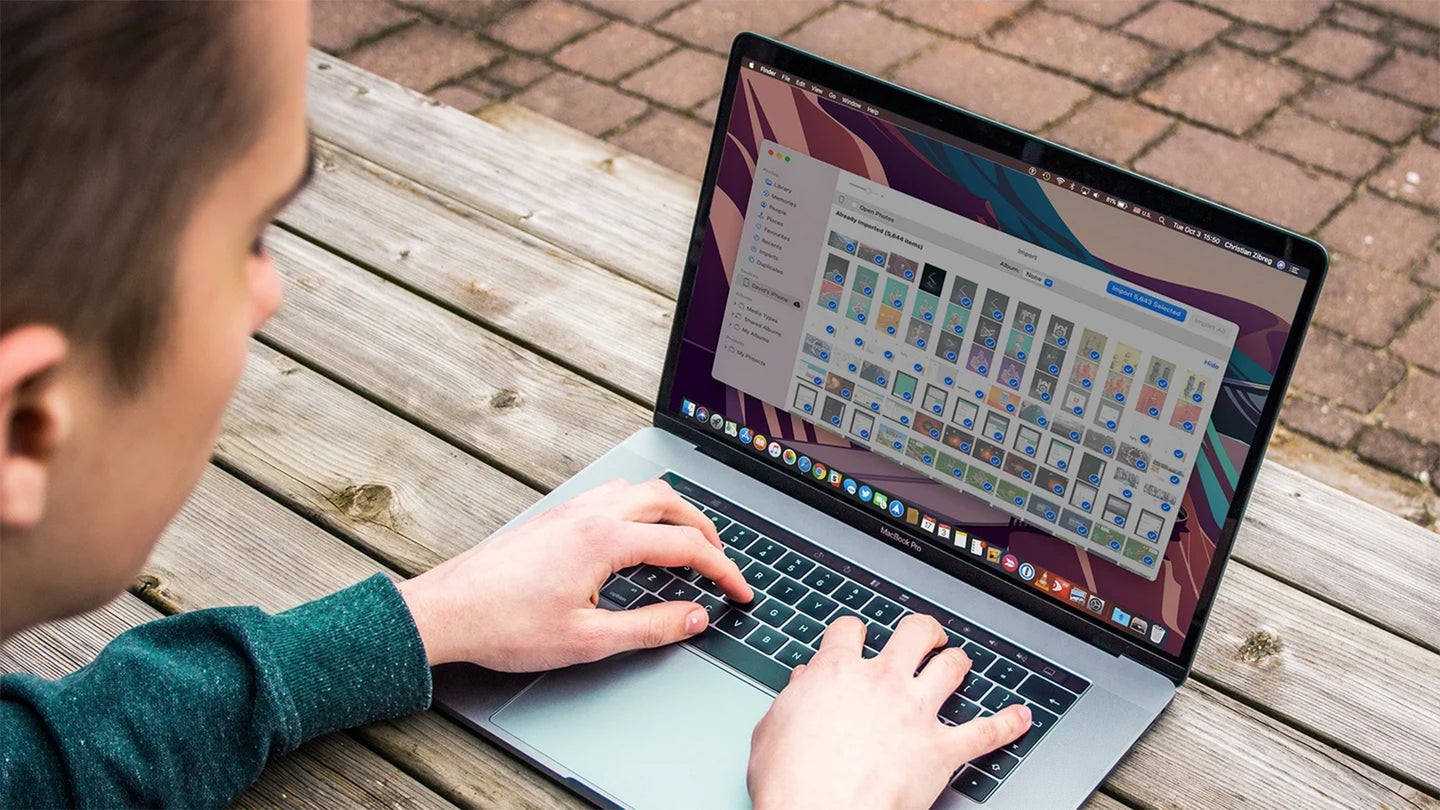
Continue by opening the Photos app on your Mac computer to do some transferring. You’ll see that your iPhone appears in the navigation pane on the left-hand side of the screen: Select it to see the photos and videos on your mobile device, and click on the images and clips you want to move to your machine.
Up at the top of the screen, there’s an Album drop-down menu that you can use to choose where to import the photos and videos. Make your choice and click Import Selected to copy the files over, or click Import All to copy everything. Your files will move safely from your phone to your Mac, which you can then send to other devices and drives as needed.
You also got a couple of other options. If you’re not using iCloud Photos at all on your iPhone, open Finder and select your connected iPhone on the sidebar to the left. Switch to the Photos tab and drag and drop your images and videos to other locations on your Mac just as you would any other file. You can also run the macOS Image Capture utility to see all your iPhone photos and videos and transfer them to a specific folder on your Mac computer.
How to manually move images from iPhone to Windows
When you connect your iPhone to a new Windows computer, you’ll see a message on your phone asking if you want to allow the machine to access photos and videos on iOS—tap Allow to let file transfers happen. This should do it, but Windows might also ask you to restart your computer to finish setting up iPhone access. If that’s the case, follow the instructions on the screen and reboot.
The import process is slightly different depending on whether or not you’ve enabled iCloud Photos on your phone. If you have, install iCloud for Windows, and sign in using your Apple ID. Next, launch the native Photos app inside Windows, click the cog icon (top right), and choose Show iCloud Photos. They’ll appear in their own section inside the Photos app, and you’ll then be able to copy them to other areas of your Windows system as needed.
If you’re not using iCloud Photos, you can still use the native Photos app for Windows once your iPhone is connected. Inside Photos, click Import (top right) then select your iPhone—you’ll be able to select some or all of the images and videos on there, and you can then click Add to transfer them over to your hard drive. All you have to do first is choose a destination folder to start the import.
There is also another option, whether or not you’re using iCloud Photos. Your iPhone will show up in the navigation pane in Windows File Explorer, too, and you can browse (and copy over) the pictures and videos on it from there just as you would do from any other flash drive—just look inside the DCIM folder. Keep in mind that the folder organization structure on iOS is somewhat confusing, so you might not be able to find your files all that easily.