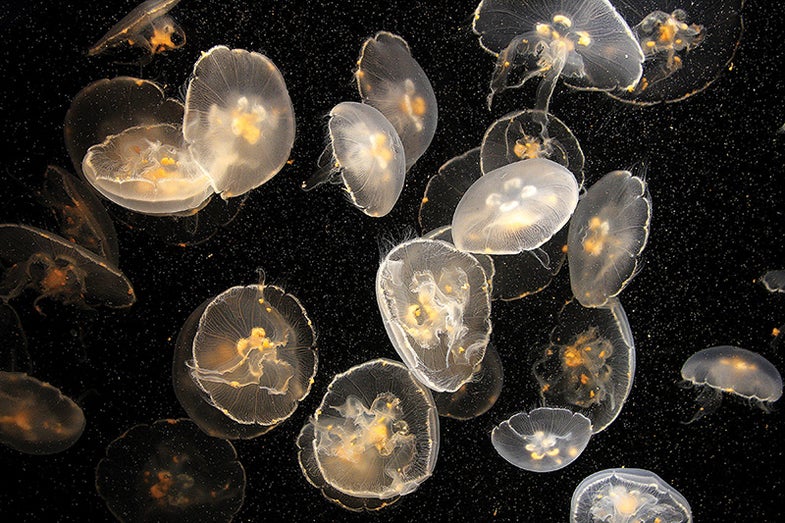
How To: Photograph Jellyfish In an Aquarium Setting
These slow moving creatures are ready for their closeup

If last month’s feature story about photographing undersea creatures got your creative juices flowing, we have one word for you: jellies. No longer called jellyfish (since they’re not actually fish), jellies displayed in some of the best aquariums in the world listed on this website make excellent subjects for photographers who are into capturing sea creatures. [Eric Plante](http://www/. picturesbyplante.com), a nature and wildlife photographer from Glendale, CA, offers these reasons why:
•They move slowly. This gives you a better chance at capturing sharp images of them, even in relatively low light.
•Jellies almost always stay front and center in their tanks. Unlike other aquarium species that will lie at the bottom for hours or hide under sand, in kelp, or behind coral, these creatures generally remain visible and ready for their close-ups, according to Plante.
• They’re usually dramatically lit. Aquariums often light tanks of jellies from both the top and the bottom, so the creatures are strikingly suspended in space against boldly contrasting black or blue backgrounds.“The lighting is also usually very even in many areas of the tank—perfect for photographers,” Plante says.
• They’re relatively easy to focus and expose. Despite the dramatic lighting, the photographer says that exposing the shot shown here could not have been easier: “I used the Canon EOS 7D’s evaluative meter, the center focusing point, and auto white balance,” he explains.
Step 1
In advance of the shoot, visit the aquarium’s website. Look for rules pertaining to photography. Many aquariums prohibit tripods and flash. Don’t go through the trouble of bringing them only to be turned away at the door.
Step 2
Bring the right lens. Plante stresses the importance of glass selection. You’ll need a wide-angle, relatively close-focusing, fast lens; image stabilization (on the lens if not in the camera); and to avoid reflections and hold your rig steady against the tank, a lens shade.
Step 3
Stake a claim. Even if there are no jellies in the area yet, stake out a position in front of the best-lit part of the tank. You want bright, even lighting that spans a broad area. Stay patient; eventually they will float into the light—and your frame.
Step 4
Make your exposures. Set an ISO that will allow shutter speeds no slower than 1/60 sec. When the jellies form an interesting grouping near the tank’s glass plate, lightly press your lenshood against the tank. This will stabilize the camera, eliminate reflections, and prevent someone from coming between you and your subjects. Fire away. Once you’ve got the shot, make way for other visitors.
Final Step
Fine-tune your images in software. For his photo here, “I used Adobe Photoshop CS5.1 to sharpen, bring down the highlights, and add a bit of yellow saturation in order to bring the yellows back to their natural levels,” says Plante.