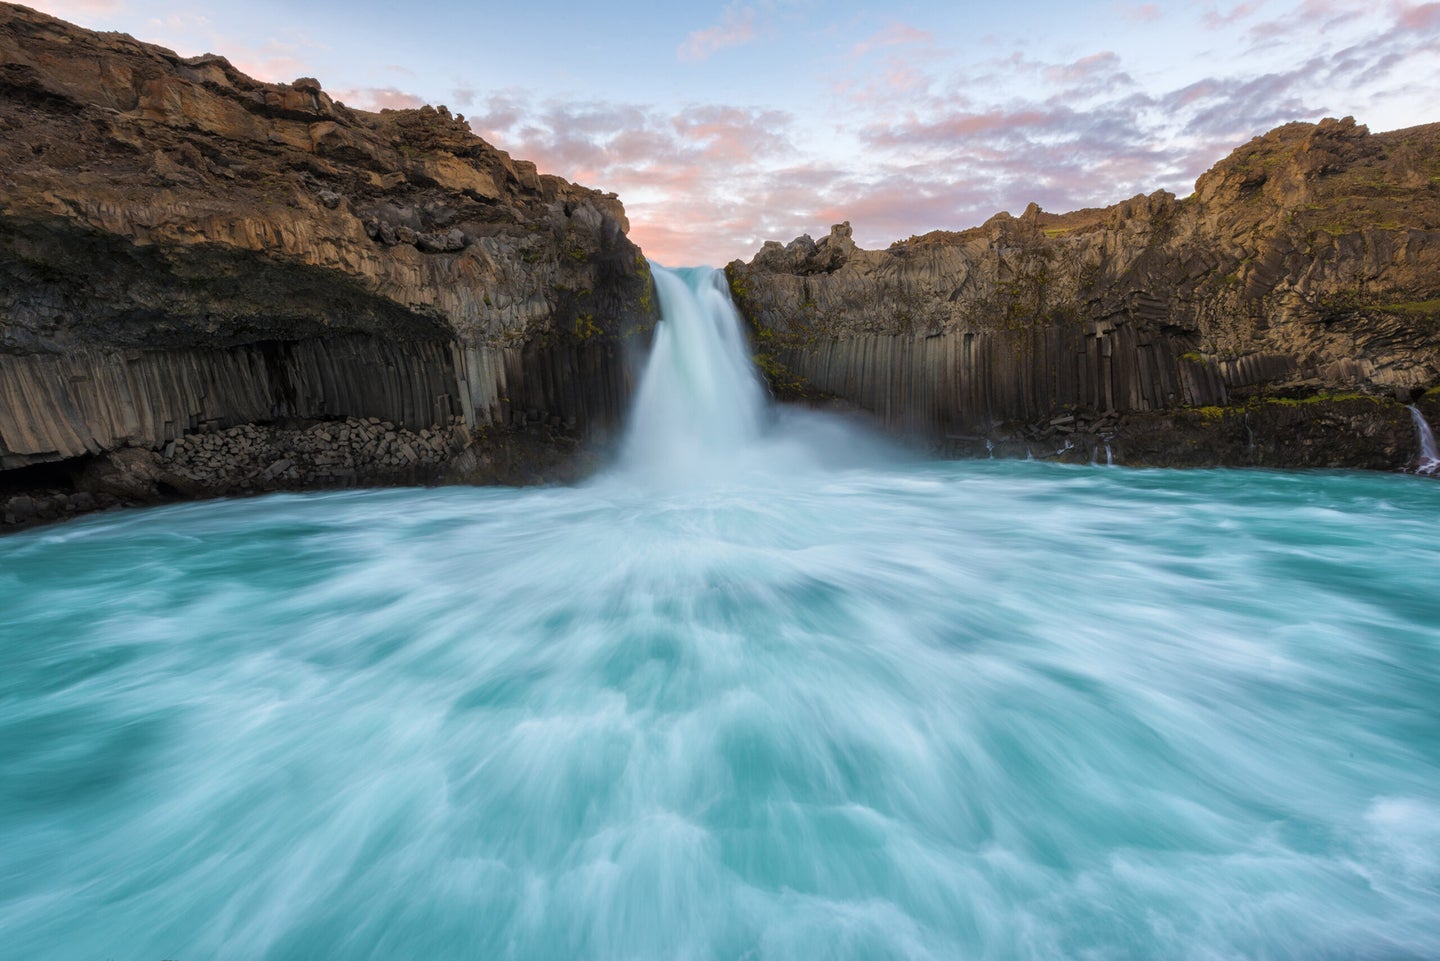
You Can Do It: Using Long Exposure To Create Dreamy Water Photography
Photographer Darren Moore conjures up magic with long exposures.

To flip mundane seascapes into something more magical, the secret is simple: lengthen your exposure times to a full minute or more. Darren Moore, a photographer from Surrey, England, has mastered this technique. His seascapes are more like dreamscapes, free of the clutter, grime and boring detail of everyday scenes.
The cool thing here is that you really can do this yourself. All it takes is a camera that lets you set long exposure times, a tripod to hold your camera steady, and, assuming you want to shoot in daylight—and not in the dead of night—a neutral-density filter to thread over your lens.
Neutral-density (ND) filters cut the light reaching your camera’s image sensor or film without affecting the overall color balance. They let you make accurate daylight exposures that are measured in minutes, not the more usual fractions of seconds.
ND filters are calibrated logarithmically, however, which can lead to some confusion. An ND filter that blocks 1 stop of light, for example, is commonly labeled 0.3; a filter that blocks 2 stops is labeled 0.6; and so on up the line. The maximum-strength 3.0 filter will dim down a scene by 10 full stops.
You can buy screw-in ND filters of different densities to fit each of your favorite lenses, or get a kit with a standard holder (such as the Cokin) that works with a variety of lens sizes. Variable ND filters, such as those from Hoya and Tiffen, let you dial in up to 9 stops of neutral density.
Step 1: Gather your gear
Start with a camera that allows bulb settings, a sturdy tripod, and neutral-density filters (with or without a holder) for your lens. A telephoto lens will give you a deep working distance that lets you shoot far from the water’s edge. Also, a remote shutter release will let you fire the camera without jogging it.
Step 2: Find the right beach
You will want a sheltered location with a gentle surf and a minimum of swimmers in your background to clutter it up.
Step 3: Wait for the right conditions
Moore went early in the morning of an overcast day to take advantage of its soft light, hazy horizon, and lack of crowds.
Step 4: Make your (long) exposures
After mounting your rig and composing the scene, ask the model to hold absolutely still for the duration of the exposures, which could be a minute or more. The pose should be natural, have some visual interest, and be easy to hold. You may want your model to turn away from the camera to avoid a blurred face.
Final Step: Finesse the scene in software
Moore wanted to exaggerate the dreamlike quality of the scene by getting rid of background detail. This included the horizon line, which he eliminated by selecting it with Adobe Photoshop CS6’s Marquee tool and applying a Gaussian blur to the selection.