How To: Master Avedon Lighting
Try Avedon lighting for your next portrait!

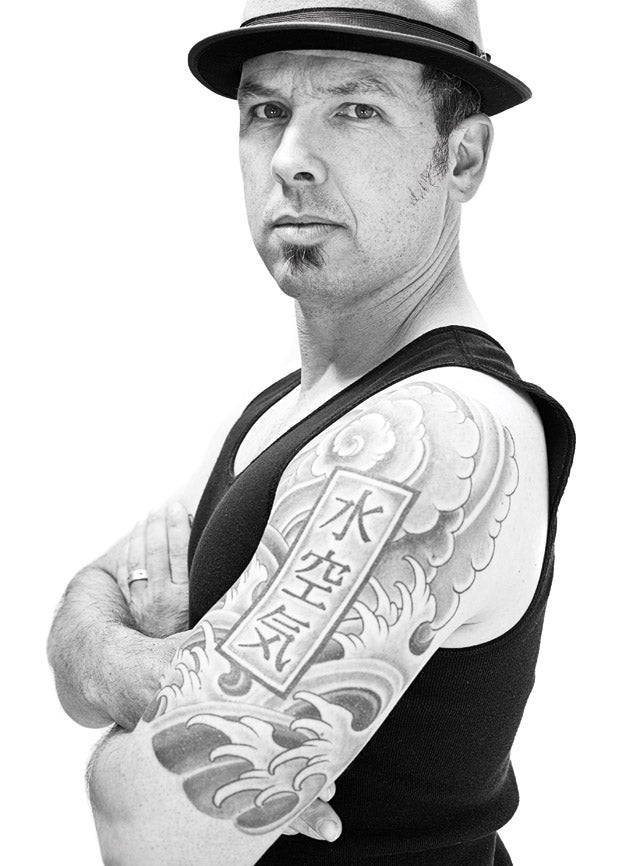
S.I. Dixon, an Australian school teacher by day and part-time portraitist most other times, is drawn to “less-than-mainstream subjects,” he says. Burlesque dancers, roller derby skaters, and, as in the portrait here, ink aficionados are his typical quarry. To document them, he uses a lighting style that smacks of the great Richard Avedon.
“I choose Avedon’s lighting because it’s very clean and simple, with even highlights and shadows across the figure. Drama isn’t evoked by the lighting. The subject brings that to the picture,” says Dixon.
So what’s an Avedon lighting setup? Google the phrase, and the Internet coughs up a dozen different combinations of front, back, and fill lights, often with baffles and reflectors. Avedon himself deployed his light differently, depending on the circumstances. (See the essential book Avedon at Work: In the American West by Laura Wilson; Harry Ransom Humanities Research Center, 2003.)
While lighting setups vary, the look doesn’t: you need a bright white background, even illumination across the subject, open shadows, snappy contrast, and absolutely no flare compromising the figure’s edges. So strongly is this style associated with Avedon that among some shooters his name has morphed into a verb, as in “I Avedoned three subjects today.”
Dixon especially likes the look because “the subjects are removed from any context, and the focus is placed entirely on them, their attire, demeanor, and expression,” he tells us.
One of the hallmarks of this lighting style is the soft, often indirect main light. “The key is getting the indirect light as even as possible across the subject,” says Dixon. When the main light is too high, the result is a bright head and face, and lighting that quickly falls off for the rest of the figure. “With practice, it becomes easy to see and fix the problem,” he says. Often, all that’s required is a strategically placed reflector.
Another problem? Flare from the bright white background can lighten subject edges. The fix: Throw less light on the background and/or move your subject forward, away from it.

He began by gaffer-taping bright white seamless paper (A) to a west-facing exterior brick wall (B). With the morning sun coming from the east, the wall cast a shadow (C) into which Dixon placed his subject. Because the lighting across the subject would become top-heavy as the sun rose, Dixon worked fairly quickly. He carefully positioned the subject far enough from the background so as not to see flare around the figure, but not so far forward that the subject was closer to direct sunlight and therefore too brightly lit. To prevent skintones from blowing out, he closed down 0.67 stop over the spot-meter reading recommended by his Canon EOS 5D Mark II (D). Dixon likes this setup because, “I’d become sick of lugging lights and gear from shoot to shoot, and rigging complicated setups. This more simple setup lets me focus on my subject.”