How To: Use a Touch of Curves to Create a Stronger Image
Sometimes less is more when it comes to fixing one's photo

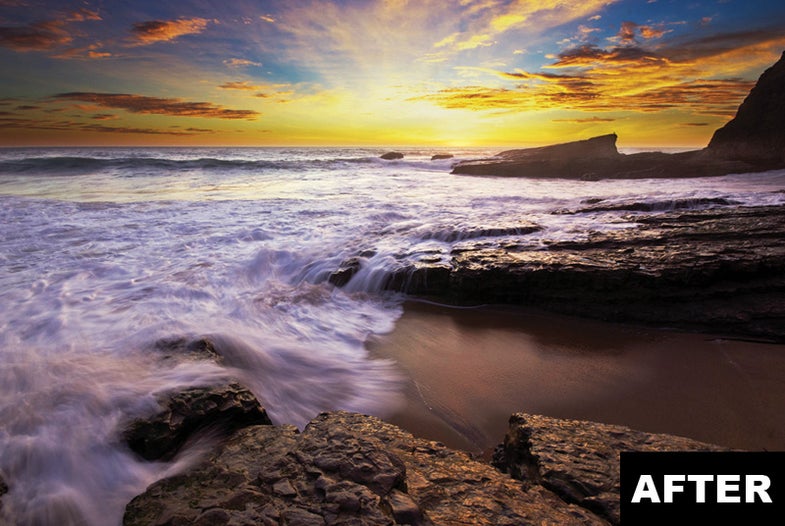
You’ll notice very little difference between the Before and After versions of this photo because it needed very little fixing. The composition and exposure of this shot by Jessie Hoye of Berkeley, CA, are right on the money. But the picture looked slightly flat in the water and sky, and we felt that these could use a little boost.
Working in Adobe Photoshop CS5, we used masks on two Curves Adjustment Layers to separately tweak the water and the sky. In each layer, we used a shallow S-curve tailored to its specific tonal range, brightening the highlights and deepening the shadows.
Total time fixing: 5 minutes.
Hoye shot with a Nikon D60 with 10–20mm f/4–5.6 Sigma DC lens; exposure, 1/4 sec at f/13, ISO 100.

Photo: Jessie Hoye