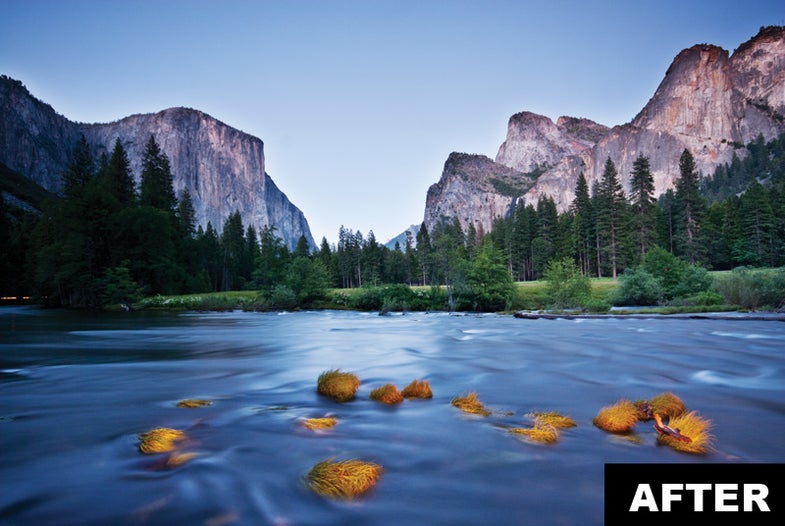
How To: Lighten Up those Shadows to Produce a Stronger Image
Balancing the artificial with the natural

Usually when we run a photo by Ben Cooper, it’s of a rocket launch (he’s a NASA photographer), but he’s also an avid nature shooter. He had the right idea, while in Yosemite, of using a flashlight to add fill light to the grass hummocks in the foreground, but the whole picture remains too flat and dark.
Working with his original RAW file, we increased exposure, added Fill Light to open up the shadows, and used Clarity to boost midtone contrast. We then opened the file in Adobe Photoshop CS5, masked off the sky, and adjusted contrast using Curves. We also used Curves and a mask to add extra contrast to the mountains, before leveling the horizon.
Total time fixing: 15 minutes.
Cooper shot the picture using his Nikon D200 and 10–20mm f/4–5.6 Sigma DC lens; exposure, 30 sec at f/6.3, ISO 100.

Photo: Ben Cooper