Rembrandt Lighting for Creating Dramatic Portraits
Combine age-old techniques for a face with character


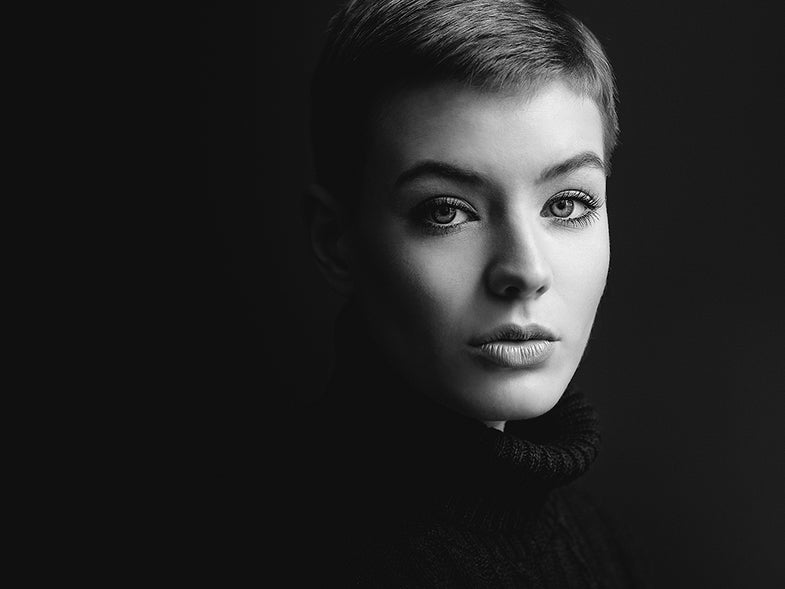
When it comes to portrait lighting, here’s a sure bet: Merge the power of two classic formulas, Rembrandt and window lighting, as the German portrait and fine-art photographer Andreas Jorns did here. Rembrandt lighting (named after the Dutch master whose portraits epitomize the style) is prized for its ability to bring out facial modeling. See how its adjacent shadow pops the model’s nose forward? Also note how well shadow sculpts the line of the left cheek. Add to that the flatteringly soft quality of diffuse window light—so forgiving of complexion issues—and you’ve got a successful portrait.
Jorns, who is based in a suburb of Duesseldorf, describes Rembrandt lighting as “a style that illuminates only one side of the face, but with some detail remaining in the shadowed side. Its signature is a triangular highlight under the eye on the shadowed side that emphasizes the face’s plasticity.”
For Rembrandt lighting, place your main source to the left or right side of the subject and aim it down at the face at about a 45-degree angle. Keep adjusting its position until you see the telltale triangle and the shadow to the side of and slightly below the nose.
As his main source, Jorns prefers window light because it’s soft and flattering to most skin types. He describes it as one of the most people-friendly light sources. “I do like flash photography, but in my experience people are more comfortable with available light than artificial. They act more naturally in front of the camera,” he says.
For window lighting to work, especially with southern or southwestern facing exposures, the sky should be cloudy and the quality of its light diffuse. The sun should also be low in the sky, which means shooting early or late in the day. (This portrait was made in late October, just before sunset.) If circumstances require working on a bright, sunny day, use light from a north-facing window or hang a white sheet in front of the window to mimic the effect of an overcast sky.

“The positioning of the model depends on the quality of the light,” says Jorns. If the sky is heavily overcast and its light weak, put your subject as close to the window as possible. The positioning will be correct when the light on the subject’s face has a glow relative to the background.
“The room should be fairly large in order to prevent your main light from illuminating the background too strongly,” says Jorns. He prefers a working distance of at least six or seven feet between subject and background. The window shouldn’t be too large, but, if possible, it should reach down to the floor, especially if you’re posing your model seated—his preference. If your window is large, letting too much light into the room, hang black flocking in front of it to reduce its size. The point is to keep it strongly directional.
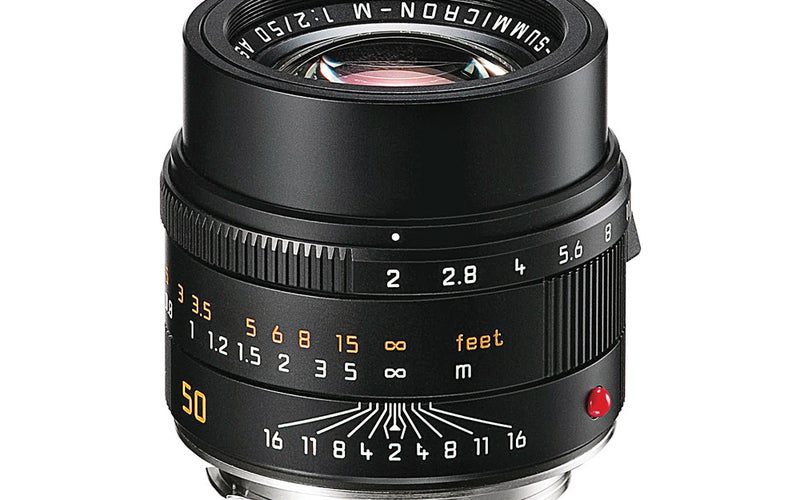
Leica
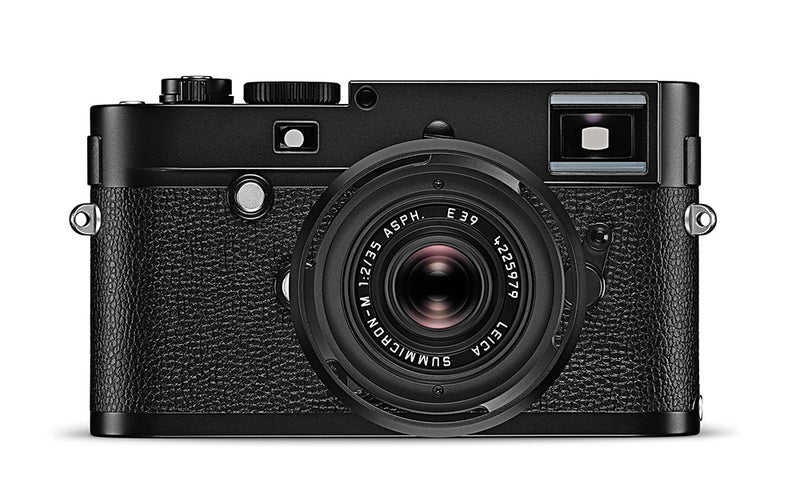
Leica
Other tips for succeeding with a portrait like this:
- Work seated on the floor. “Not only is the position relaxing but, with the light falling from above onto the model’s face, it more perfectly produces the Rembrandt lighting effect,” says Jorns.
- Avoid reflectors. They can bring out too much shadow detail. Rembrandt didn’t use them and neither should you.

