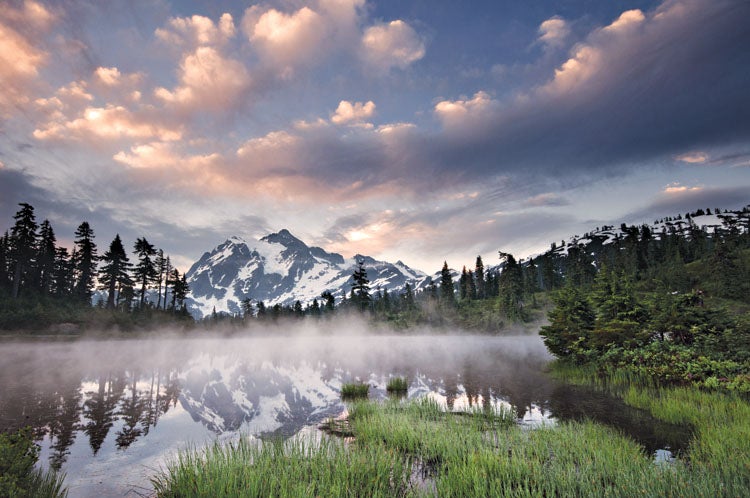
How To: Optimize a Landscape in Photoshop
Five tips to makes your scenics great.

Armed with a DSLR, a good lens, a tripod, and perhaps a split neutral-density filter, you can make lovely landscape photographs in the field, many of which won’t need retouching at all. But if somehow, despite your best efforts, you still end up with a skewed horizon line or a so-so sky, Adobe Photoshop can help.
And even in situations where you love what you captured, you can use Photoshop to improve, enhance, or (simply for the heck of it) modify your picture to make it look the way you think it should. Here are five tips for improving your landscape photos, whether they need it badly or not. Use one or all of them on a given picture, and in any order you like.

F.Y.I.
It’s fun to take a few liberties with your nature photos. Unlike a portrait or architectural shot, your viewer will have only a vague sense of how it really looked. So you can go a bit farther with edits: Add more vibrance or saturation than you normally would, make your clouds more dramatic, or make distant mountains more contrasty than they would appear in reality. Experiment with white balance, too. If you don’t go too far, no one will be the wiser.

A slanted horizon plagues many an otherwise excellent landscape. Even with a tripod, it’s hard to tell by eye that you’ve got it right. Photoshop CS5 finally includes a tool for straightening as part of the Ruler tool. Find it by clicking and holding the eyedropper in the toolbar. Use the ruler to draw a line along the horizon where it should be straight—in this case, the water line. Then click the Straighten button in the Options bar at the top of the screen.

Want to add more drama to a cloudy sky? Here’s a quick trick. Duplicate your Background Layer, then use the pulldown menu to choose the Multiply Blend Mode. The effect will most likely be too strong, so dial down the layer’s opacity until you get a look for the more realistic sky. Add a mask to the layer, and grab the Brush tool and paint with black on your image to hide all the areas that you don’t want your Multiply blend to affect.

It’s often hard to capture detail in both the sky and the ground. To fix this, try the Shadows/Highlights adjustment. Duplicate your layer, and go to Image > Adjustments > Shadows/Highlights. Check the box for Show More Options, then move the Tonal Width slider left so it adjusts more of the darker tones without affecting too many midtones. Here, the idea is to bring out some detail in the trees. You can reduce the intensity of the effect by moving the Amount slider to the left.

You may have great contrast in part of your image, but other areas still look flat and dull. Fix them individually by using a Curves Adjustment Layer and a mask in combination. First, make the Adjustment Layer. Click on the pointer finger in the Curves dialogue, place it on the area you want to lighten, and drag upward. Do the same on a tone you want darker, but drag downward. Fill the mask with black to hide adjustments; use the Brush set to white to paint them back in. Do as many of these as needed.

Want a different overall look? Try a Photo Filter Adjustment Layer. Click the Photo Filter button in the Adjustments Panel, and use the pulldown menu to pick one you like. Move the Density slider left or right to decrease or increase, respectively, its intensity.