Shoot an in-camera double exposure photo
Two exposures can make one great image.

Readers who protest that digital special effects are not your cup of tea, this one is for you. It’s an in-camera project harkening back to the film era, and it doesn’t necessarily require computer time. While Sara K. Byrne, a Portland, OR, wedding pro (www.dylandsara.com), didn’t invent the idea of a double-exposure silhouette, she has certainly mastered this captivating echnique.
ENTER OUR MONTHLY PHOTO CHALLENGE: DOUBLE EXPOSURES
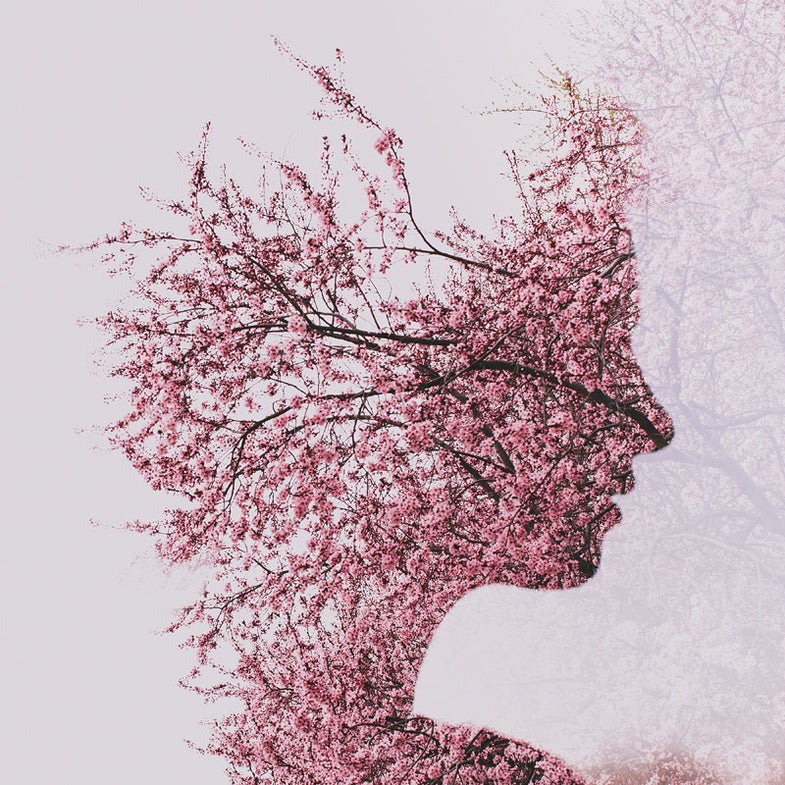
Byrne combines two images in her DSLR. One is a silhouette, in this case a head-and-shoulders portrait; her second, “fill,” image, is a colorful snippet from nature, here a blossoming cherry tree. Her camera’s multiple exposure mode did the grunt work of merging the two frames, automatically filling the second, textured image into the black areas of the silhouette.
Not all digital cameras have this capability. Current models that do include the Canon EOS 5D Mark III, 1D X, and 70D; most Nikon DSLRs; Fujifilm’s X-Pro1 and X100s; and the Olympus OM-D E-M5, among others. With some, combining exposures works only with RAW captures.
Aligning the images is easier, says Byrne, when you work in live view mode. Avoid overexposure, which can flare the outline of your silhouetted subject, and compose against a pure white background for a perfect fill. And take your time to find the right fill for your double-exposed silhouette—if your camera allows, you don’t need to make the two shots at the same time. Save one to your memory card until you find its complement.
For more tips, watch Byrne’s video.
Step 1
Shoot the sillhouette. Make it against a white sky or a white studio backdrop. When shooting outdoors, a low camera angle can help get a clean white background with no intruding clutter. Byrne recommends shooting about an hour before sunset on sunny days. You can line up the dimmer afternoon light behind your subject and, with proper exposure, produce no flare.
Step 2
Find the background texture. Color helps, and so do line and complementary shapes. As with the silhouette, find a texture that can be captured on white, with a minimum of surrounding clutter.
Step 3
Prepare your camera. When you’ve found the texture to place within the silhouetted figure, you’re ready to make the composite. Dig through your camera’s settings to find the multi-exposure mode. Select it and switch your camera to live view. Find and select the base silhouette on the memory card. It will be displayed on the LCD screen.
Final Step
Line up the images. With the silhouette displayed on your camera’s LCD screen, aim your lens at the textured subject. The texture (i.e., leaves, trees, flowers, bark, or rocks) will appear within the black silhouette. Finesse the texture’s effect by adjusting the camera angle, zoom, and exposure settings. When the textured overlay complements and fits well within the silhouette, fire away. Your camera will automatically merge the two.